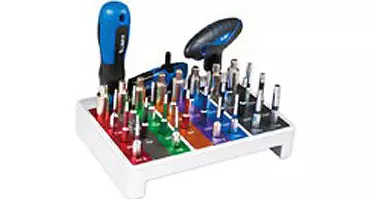
Multi Torque Kit
Best sellers of Sloky Torque screwdriver with choice of 3 handles, 6s preset Torque Adapters...
Read MoreNOTE: Heatsink styles may vary.
CAUTION: Do not over-tighten fasteners.
Install Processor Heatsink(s)
A. Remove the protective film on the TIM if present.
B. Align heatsink fins to the front and back of the chassis for correct airflow. Airflow goes from front-to-back of chassis. Each heatsink has four captive fasteners and should be tightened in a diagonal manner using the following procedure:
C. Using a #2 Phillips* screwdriver, start with screw 1 and engage screw threads by giving it two rotations and stop. (Do not fully tighten.)
D. Proceed to screw 2 and engage screw threads by giving it two rotations and stop. Similarly, engage screws 3 and 4.
E. Repeat steps C and D by giving each screw two rotations each time until each screw is lightly tightened up to a maximum of 8 inch-lbs torque.
Above contents from below linked PDF, page 4

Best sellers of Sloky Torque screwdriver with choice of 3 handles, 6s preset Torque Adapters...
Read More
Single set of Sloky Preset Torque Screwdriver with torque adapter and magnetic design...
Read More
5,000 times life cycle, tolerance +/- 10%, easily customize 0.1~18Nm with low QTY required
Read More